In a nutshell
- 🫒 The olive oil method revives wooden furniture with a thin, buffed layer of olive oil and mild acid, restoring grain definition and a natural, lasting sheen.
- 🧪 Step-by-step: dust, mix 2:1 oil to vinegar/lemon, patch test, apply whisper-thin with the grain, then buff dry; add a touch of beeswax for richer lustre on oiled wood.
- 🪵 Finish care: tailor the mix for varnish/lacquer, waxed pieces, and veneers; avoid raw softwoods to prevent blotching and always keep application minimal.
- ⚠️ Watch-outs: overapplication causes tackiness and dust traps; prevent rancidity by buffing thoroughly, using tiny amounts, and discarding old mixes; never use on lifted or water-damaged finishes.
- 🌿 Sustainable and smart: low-cost, silicone-free, and reversible—ideal as a maintenance polish; for heavy wear, switch to wax-oil or hardwax oil and set a monthly or quarterly routine.
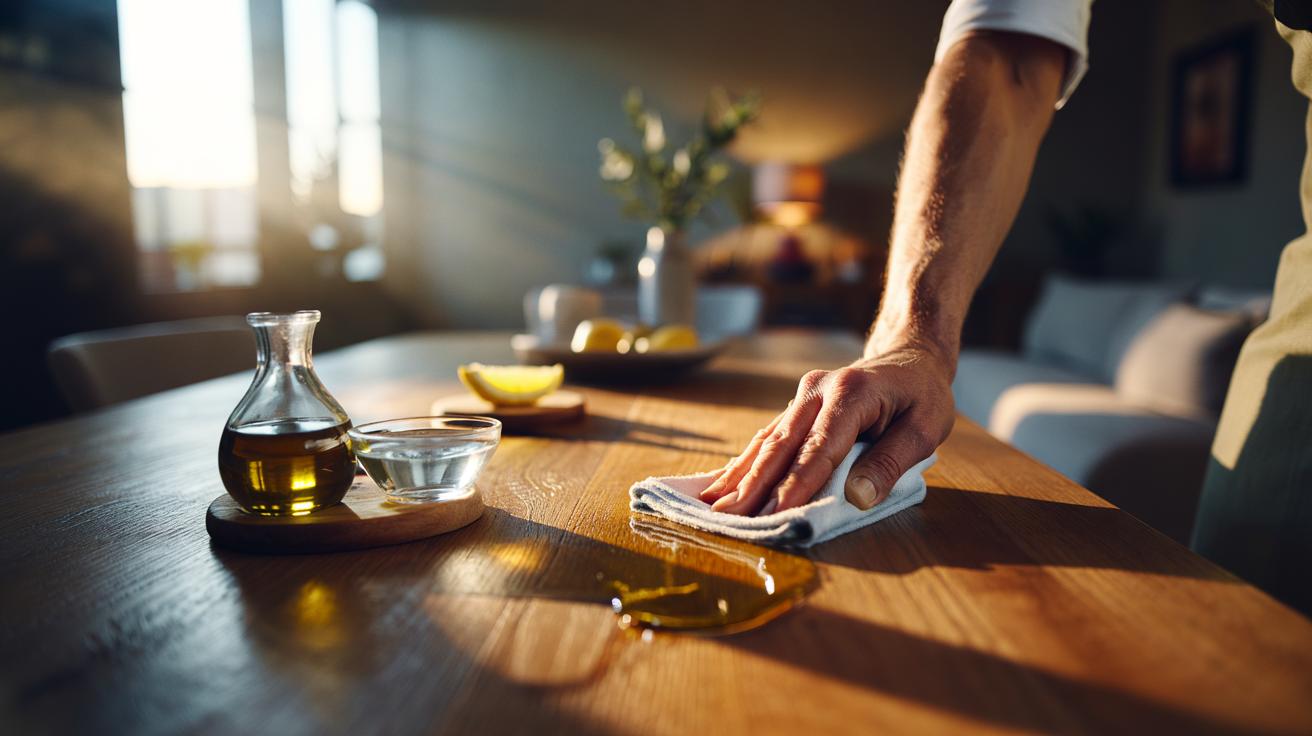
Dusty sideboards, tired dining tables, the occasional water ring: we’ve all looked at our wooden furniture and wondered if a simple, gentle rescue exists. There is. The pantry holds it. The time‑tested olive oil method brings back glow without silicones or synthetic fragrances, leaving a tactile, low‑sheen finish that looks like wood, not plastic. Done properly, it nourishes the surface, softens micro‑scratches, and enhances grain definition. Quick, quiet, and almost free. Yet it isn’t a miracle cure for every finish or species. The key is knowing when to use it, how to apply it, and how to avoid greasy mishaps. Here’s the journalist’s guide from kitchen bottle to lasting shine.
Why Olive Oil Works on Wood
Olive oil is rich in oleic acid and natural antioxidants. These create a thin, hydrophobic layer that sits within the top micro‑pores of many finishes, improving light reflectance. That’s the science behind the glow. On sealed timber—think varnished, lacquered, or shellac‑finished furniture—this layer acts as a conditioner and optical brightener rather than a deep penetrant, so you get sheen without swelling fibres. On already oiled furniture, it refreshes a tired surface, blending minor scuffs while keeping the wood’s hand‑rubbed character.
The method pairs especially well with a small dose of mild acid—white vinegar or lemon juice—to lift greasy fingerprints. Used sparingly, the acid cuts grime while the oil restores slip and shine. Less is more; the goal is a whisper‑thin film that buffs dry. There are limits. Raw, absorbent softwoods can drink oil and develop blotches. Certain closed‑pore hardwoods barely accept it and will simply look smeary if overapplied. That’s why the patch test is non‑negotiable, and why cloth choice and pressure matter as much as the mix.
Step-By-Step: The Pantry Polish Method
Start with cleanliness. Wipe dust with a microfibre cloth. Stubborn spots? A barely damp cloth with a drop of washing‑up liquid, then dry immediately. Mix your polish: two parts olive oil to one part white vinegar or fresh lemon juice. The oil pampers; the acid brightens. Shake in a jar. Optional: a few drops of vitamin E or clove oil to slow oxidation. Always patch test on an inconspicuous area and wait ten minutes.
Application is whisper‑thin. Dab a clean, lint‑free cloth into the mixture. Work with the grain, long strokes, low pressure. Count to twenty before buffing, letting solvents flash off. Then buff briskly with a second dry cloth until the surface feels dry, not slick. For deeper lustre, repeat once after 30 minutes. On thirsty, pre‑oiled wood, you can warm a teaspoon of beeswax and blend into 4 teaspoons of oil for a richer, more resistant sheen, but still apply sparingly.
| Finish Type | Suggested Mix (Oil:Acid) | Amount per m² | Notes |
|---|---|---|---|
| Varnish/Lacquer | 2:1 | 1–2 tsp | Buff until dry; avoids smearing |
| Oiled Hardwood | 2:1 or 4:1 | 2–3 tsp | Add a touch of beeswax for durability |
| Waxed Furniture | 4:1 | 1 tsp | Minimal acid preserves existing wax |
| Raw Softwood | Avoid | — | Can blotch; use a proper finish first |
Caring for Different Finishes and Common Pitfalls
Not all woodwork is equal. On lacquered or polyurethane finishes, the oil doesn’t penetrate; it rides the surface. That’s fine—just keep the coat feather‑light and buff thoroughly to avoid a dust‑catching film. For waxed pieces, reduce the vinegar or lemon to protect the wax matrix. For veneers, think minimalism: micro‑drops only, because edges can wick. When in doubt, treat the furniture as if it were a camera lens—clean, dry, and zero residue.
Now the traps. Overapplication leaves tackiness that attracts dust and pets’ paw prints. Letting oil sit in crevices invites dull build‑up. Spilled oil can create slip hazards on floors, so mask beneath chairs and sideboards. The elephant in the room is rancidity. Olive oil can oxidise over time. On a hard, well‑buffed surface, the quantity is tiny and odour is rare. Still, refresh with a dry buff after 24 hours and store mixed polish no longer than a week. Never use the method on water‑damaged, lifted finishes—address the damage first.
Sustainability, Cost, and When to Use Alternatives
There’s a quiet beauty in turning a cupboard staple into a low‑impact polish. No aerosols. No silicone residues that complicate future refinishing. A tablespoon per large table is typical, translating to pennies per treatment—useful during tight months and kinder to indoor air. The scent is gentle, especially if you choose odour‑free vinegar. For heritage pieces, the method’s reversibility is a major plus: it can be removed with a mild cleaner without stripping finishes.
Yet honesty matters. Heavy wear zones—dining tables under daily heat, wet rings, or sticky fingers—benefit from wax‑oil blends or a proper hardwax oil that cures into a tougher film. For raw wood, consider a dedicated Danish oil or shellac before any kitchen‑cupboard tricks. If silicone polishes have been used for years, degrease first to avoid smears. Olive oil is a maintenance polish, not a miracle restorer, and knowing that saves time and disappointment. Use it monthly on sealed pieces, quarterly on lightly used shelves, and always with a final brisk buff to lock in that subtle, lasting shine.
A bottle, a cloth, five quiet minutes: that’s often all a dull surface needs to look cherished again. The olive oil method rewards restraint, methodical buffing, and attention to finish types, delivering a glow that reads as wood, not gloss. Try it once on a bedside table and watch the grain pop, the colour deepen, the touch become silkier. Then decide where it belongs in your routine. Which piece in your home is ready for a careful trial—and what finish do you suspect lies beneath its tired surface?
Did you like it?4.6/5 (30)